
Complete movement and fuel first, then add the strongest Support you actually own. The captured inventory and HUD prove the required part classes and the limits worth measuring; they do not prove a universal meta layout.
A concrete first-build recipe
This is a proposed test layout, not a build we have driven or a claim that every player owns these parts. Substitute the equivalent part you own and record the change. Acquisition costs, total weight and damage are unknown.
| Part | Test quantity | Place it for this test |
|---|---|---|
| Driver Seat | 1 | Center of the main body |
| Basic Block | 4–6 if owned | Body around the seat; leave a clear front mount |
| Basic Wheel | 4 if owned | Two per side, balanced front to rear |
| Small Engine | 1 | Behind the seat where it is less exposed |
| Small Tank | 1 | Behind the front contact point |
| One owned Support | 1 | Forward with an unobstructed firing line |
These names are documented in the parts and Supports records. The quantities and placement are a test hypothesis; no controlled run in our capture set isolates their effects.
Starter build order
- Place the Driver SeatBuild mode shows a Driver Seat in the Vehicle inventory. Keep it central enough that one lost edge part does not immediately end control.
- Add wheels, engine and fuelThe roll selector and Index verify these vehicle categories. A build missing one of them is not a useful test baseline.
- Mount one clear SupportUse a Support you actually rolled and keep its firing direction unobstructed. The Weapons inventory proves ownership; a roll result alone does not.
- Protect the essentialsPut disposable blocks toward the first contact side and keep the seat, engine and fuel away from the exposed edge. Treat this as a layout test and compare it with your previous run.
- Drive one baselineRecord distance, cash, vehicle status and fuel. Change only the part that matches the first limit you hit.
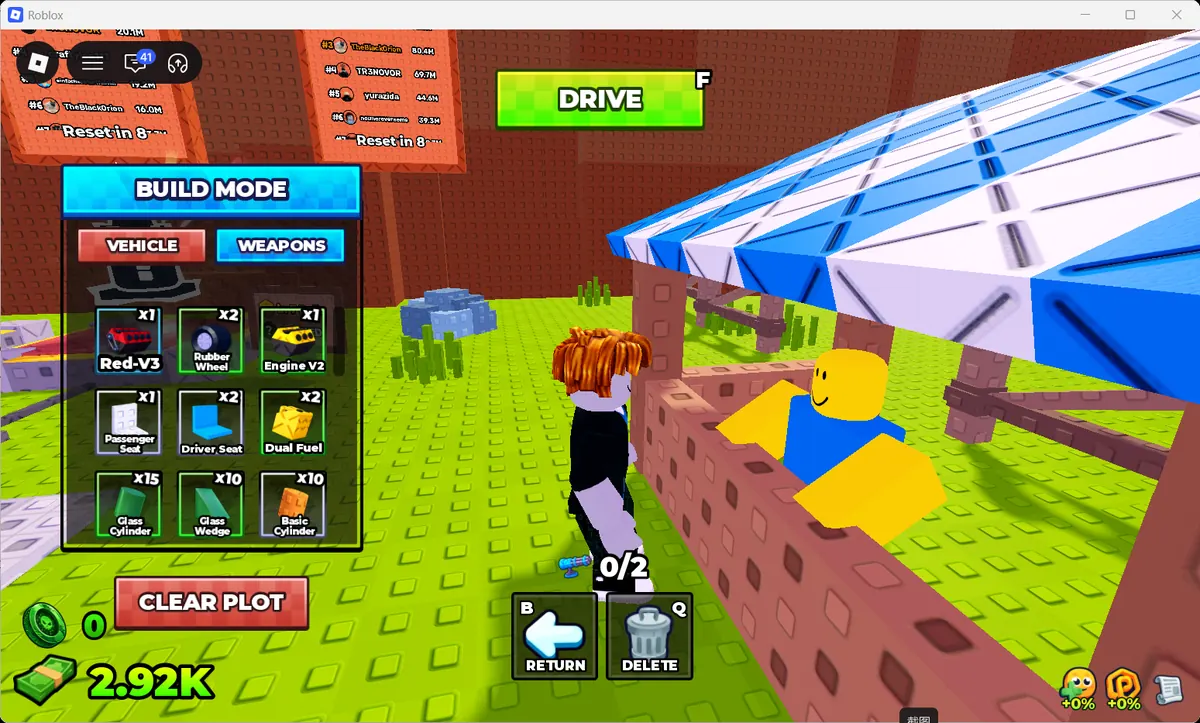
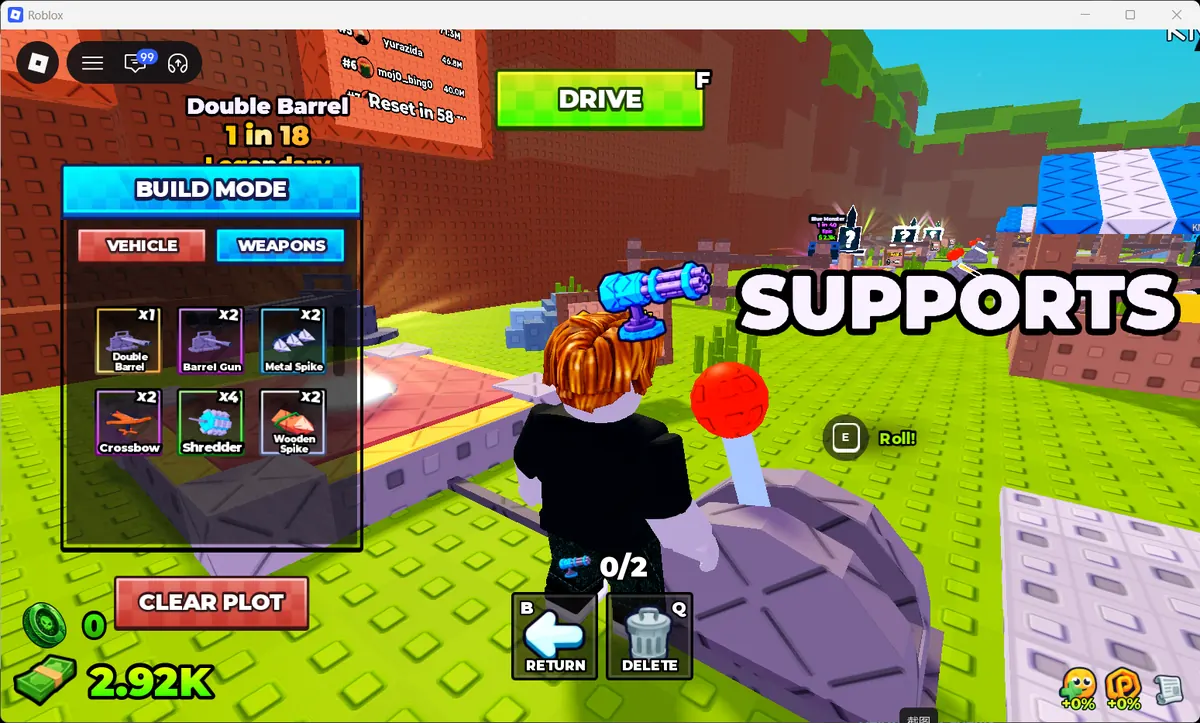
Fix the first failure, not everything
| What ends the run | Change next | Use this page |
|---|---|---|
| Fuel reaches zero | Test fuel capacity, vehicle weight and route distance | Vehicle parts |
| Vehicle status collapses | Move vital parts inward and test one defensive change | Wave simulator |
| Zombies pile up | Compare Support coverage and player-entered DPS | Weapons |
| Support limit blocks the build | Check More Support I and II before planning extra mounts | Skills tree |
| Part placed incorrectly | Select it and use the captured Q Delete control | Controls |
Measure whether the build is better
Use the same route and compare distance, distance cash, remaining fuel and vehicle status. The three captured checkpoints match floor(distance × 0.4) in that observation set, but the vehicle configurations were not recorded; they cannot rank builds. The cash calculator gives a consistent baseline. Save the loadout in the build planner once you have verified its values.
Damage, fire rate, targeting and durability remain unknown for most items. This page ranks decisions by observed failure mode until controlled combat evidence supports a true item ranking.